
I have never done a wooden finger joint. So here is a quick recap on how I made my first wooden finger joint!
There are tons of videos on how to make woodworking joinery. They are a simple way of keeping boards together and can/do have even a decorative purpose. But as I am coming from home-DIY, I was always focused on the speed of the project. Therefore the fastest way to attach two components together is, of course, fastening solutions such as nails, screws, etc. Especially when you (like me) build a fence or a terrace, you go quite often with the quickest way. So now you going see how my first wooden finger joint looks like.
Obviously, there are various other joinery types. For example butt joints, and “Half lap joints” (Both which I’ve done) or “Mortise and Tenon” joint. Having said that, this was the “simplest” that that came to mind that I could do with the material and tools at hand.
Ad hoc & just do it
I got an ad-hoc invitation to go to the “public” available woodworking space in my area, which I’ve mentioned in my post. And I went there because I
somehow understood, that we would talk more about using the tool shop, agree on time schedules. (And maybe working on some project together or think of some projects we could do).
Instead, it was a free / do-what-you-want session. The rule was: You can’t use any power tools from that shop (Due to insurance matters that were still pending).
What do I want to try today? My first wooden finger joint!
Following this, I’ve asked myself: What do I want to learn/try today? So I just took two wood pieces and said “My first wooden finger joint”!
I will not bother you on “How to make wooden finger joints”. There are a lot of videos out there. Also, I know this is going to sound like an excuse, but I must say, that I didn’t have the right tools, which would be good to have: For example I had no marking gauge, no straight edge (!!!), no measurement tool, or a decent saw (Japanese saw.)
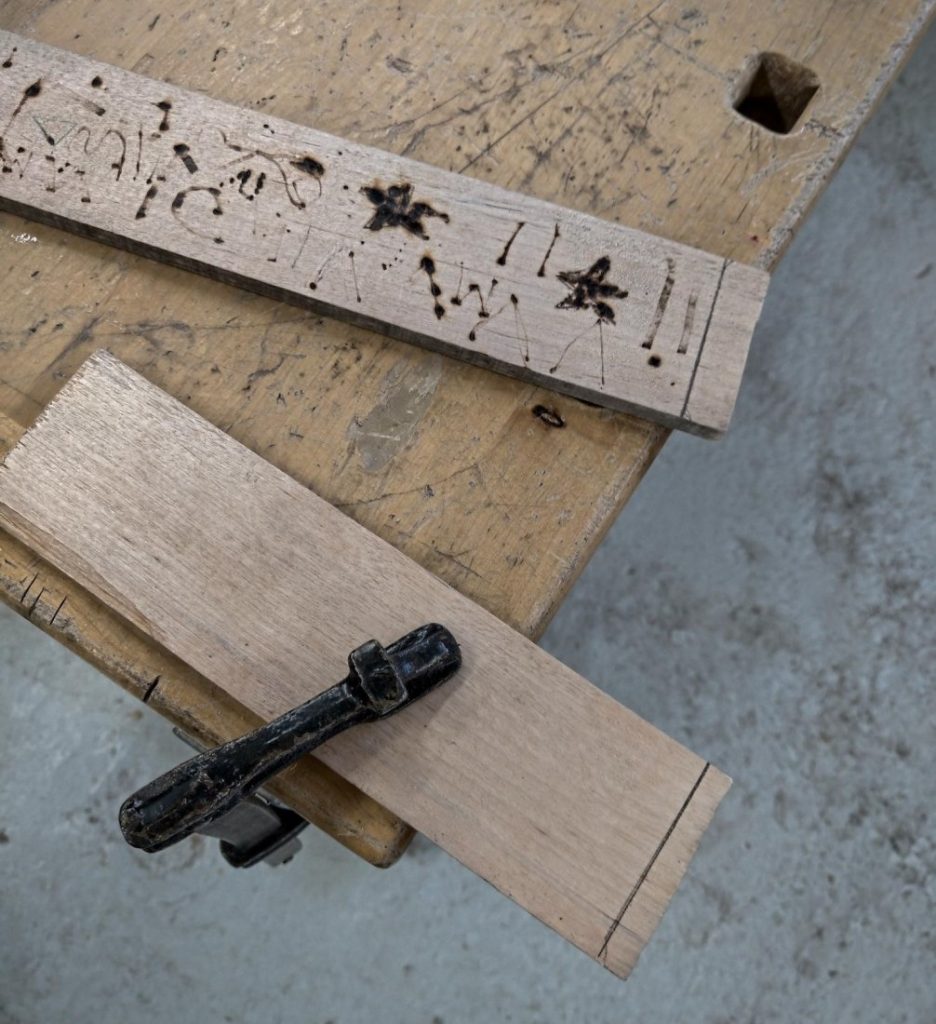
Additionally to that, the wood I picked from the bin was soft, brittle, dry, very fiber-ly and quite thin. <- THAT was my inexperience. I chose the wrong workpiece. See the pictures: How small the workpiece is compared to my hands.
So, definitely not the best circumstance to start. BUT a very very good way to learn and practice.
What I DID have:
- A coping saw
- A knife
- Two chisel
- A square wooden file
- A
pen
So here it is: My first wooden finger joint
Marking the two boards 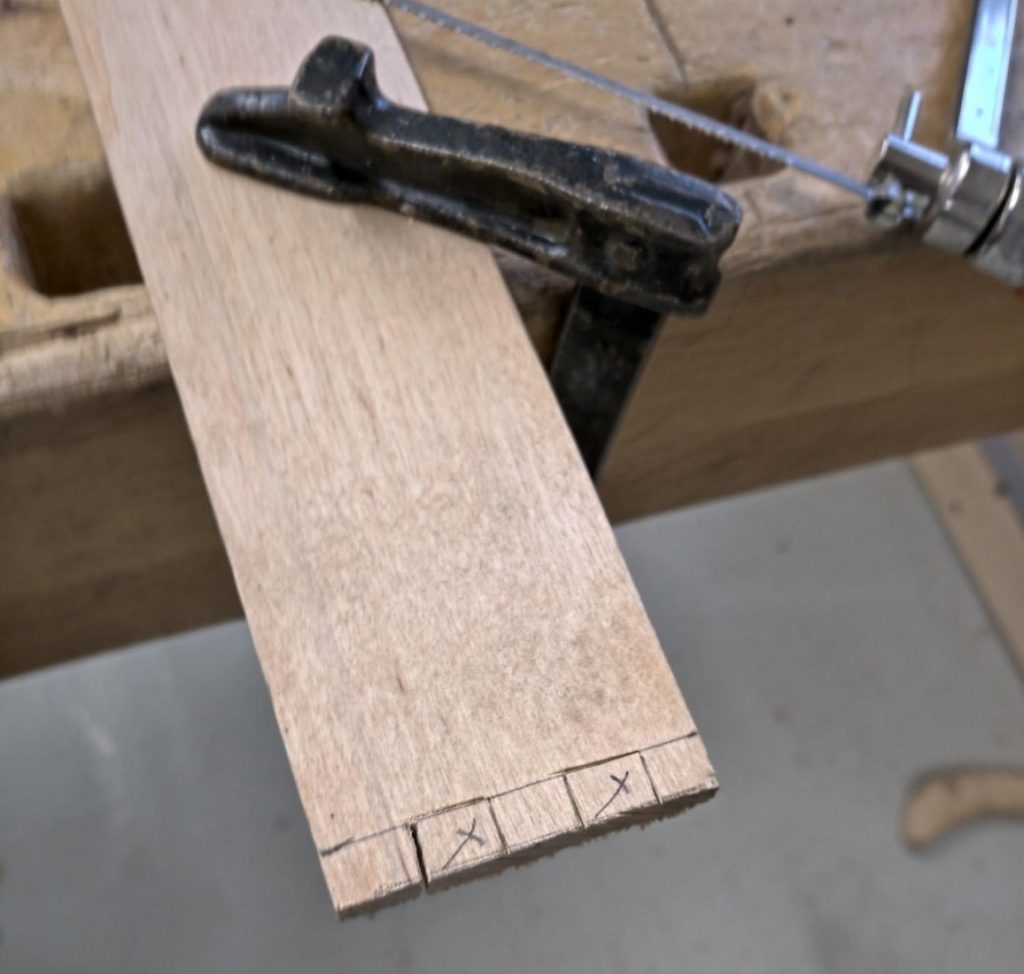
Deciding the amount of fingers 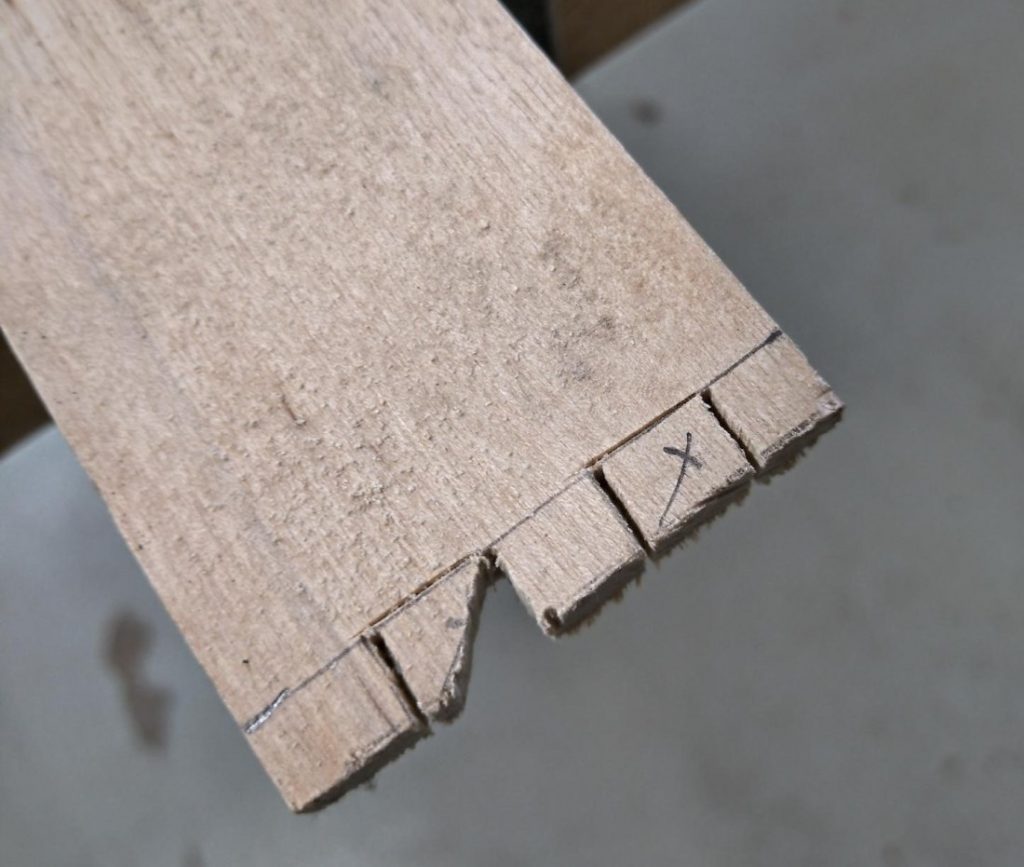
Removing the waste 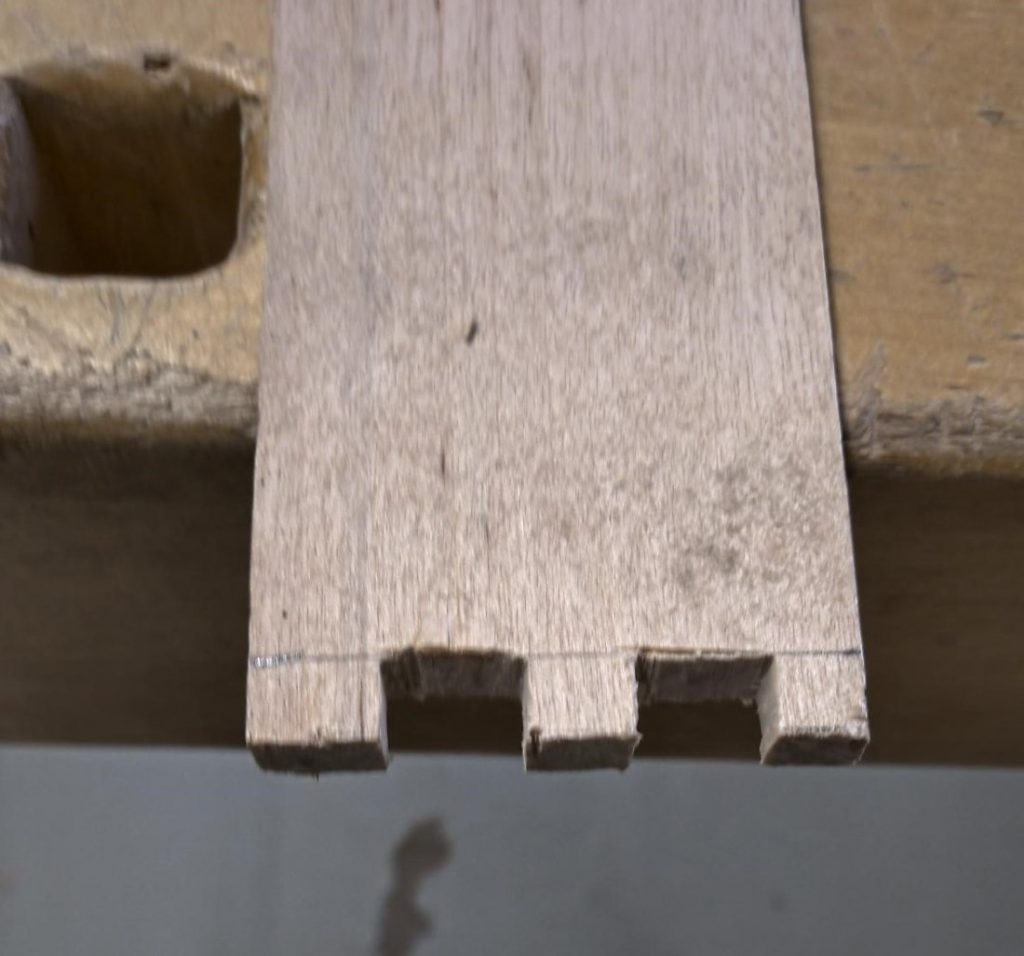
Sneaking up on the wanted size 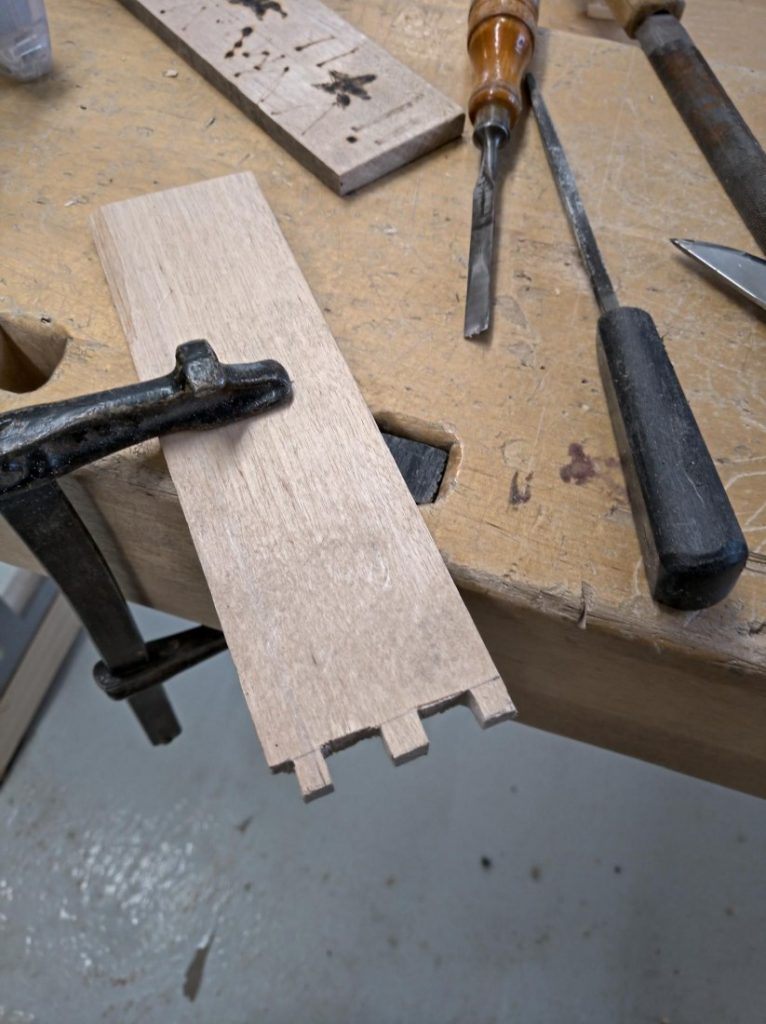
One of the pieces 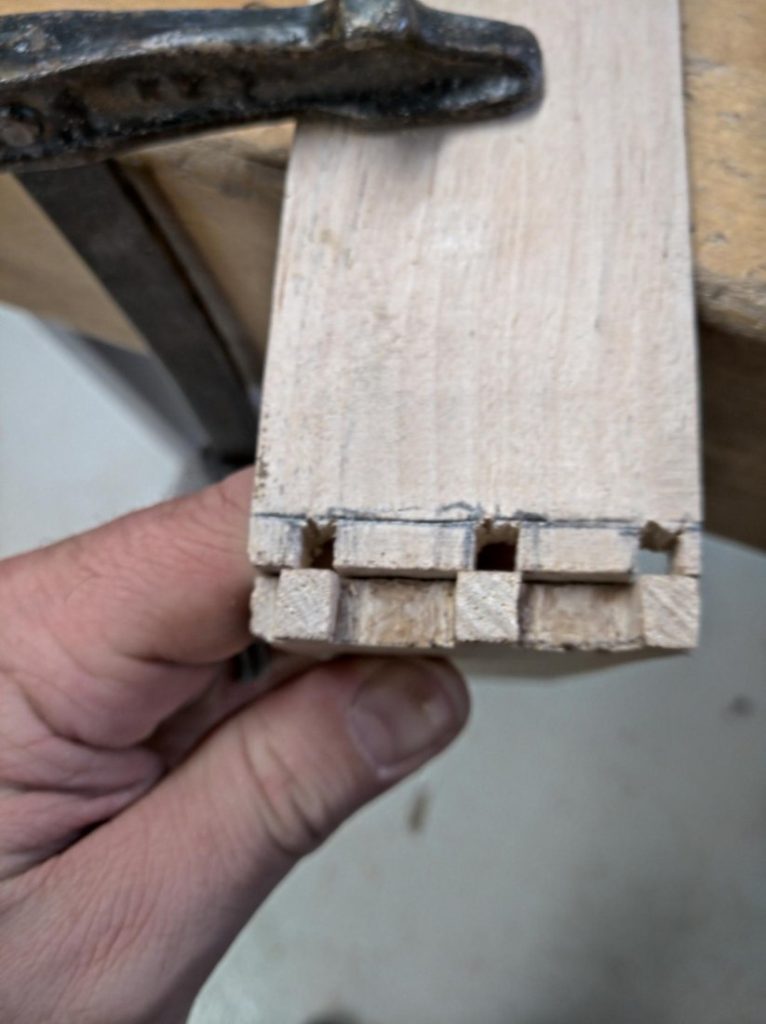
No measures just eye balling 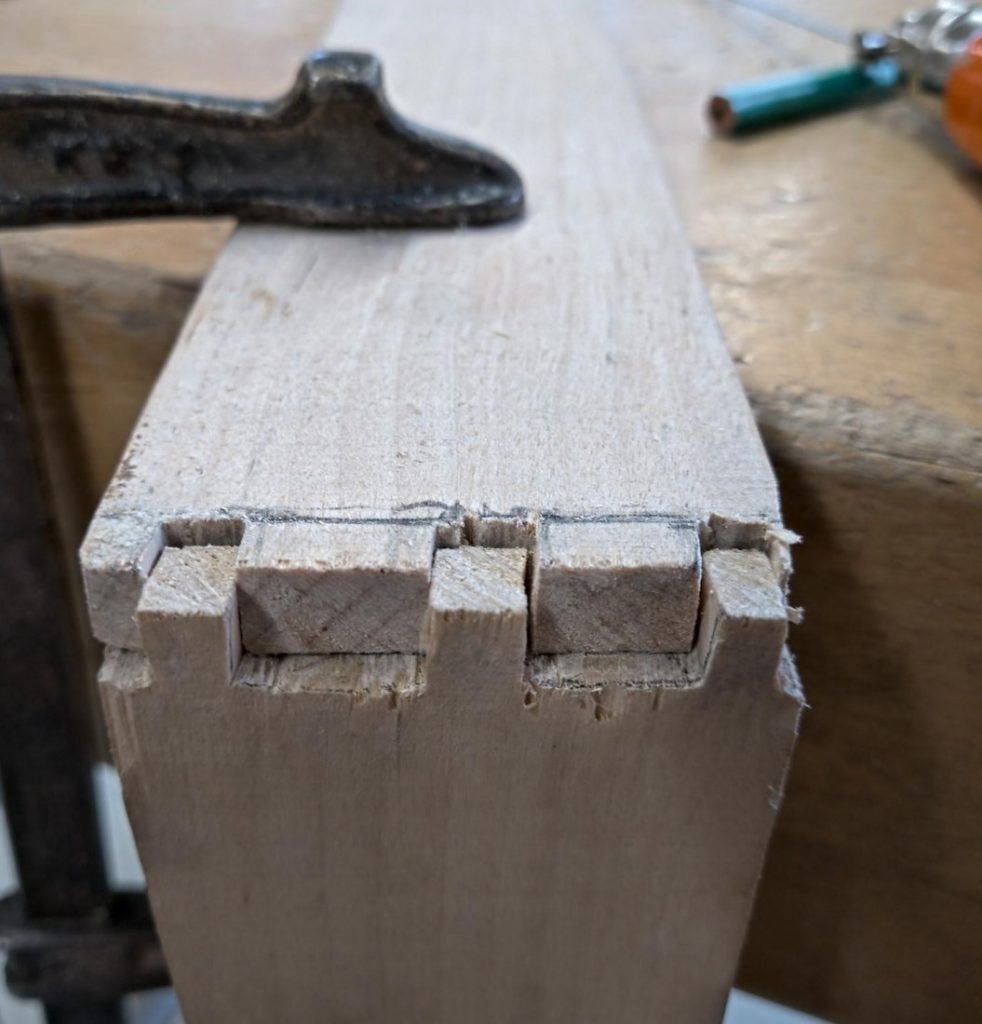
First matching 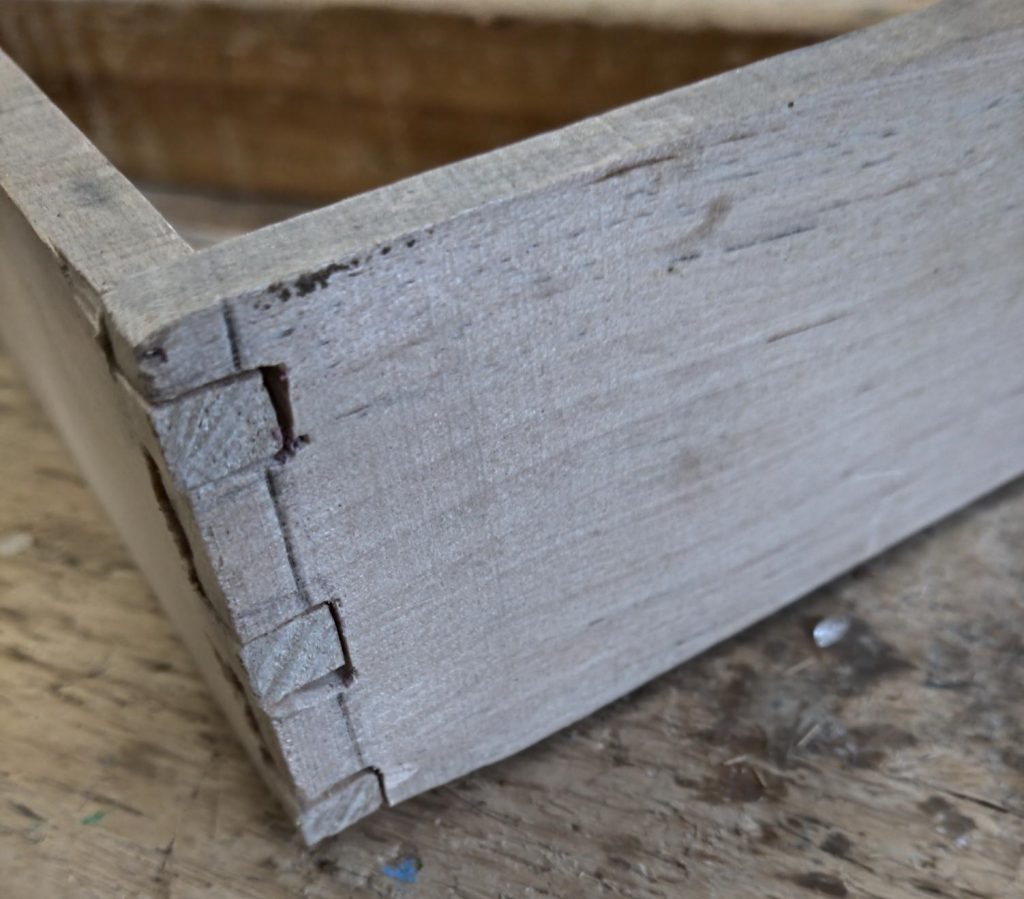
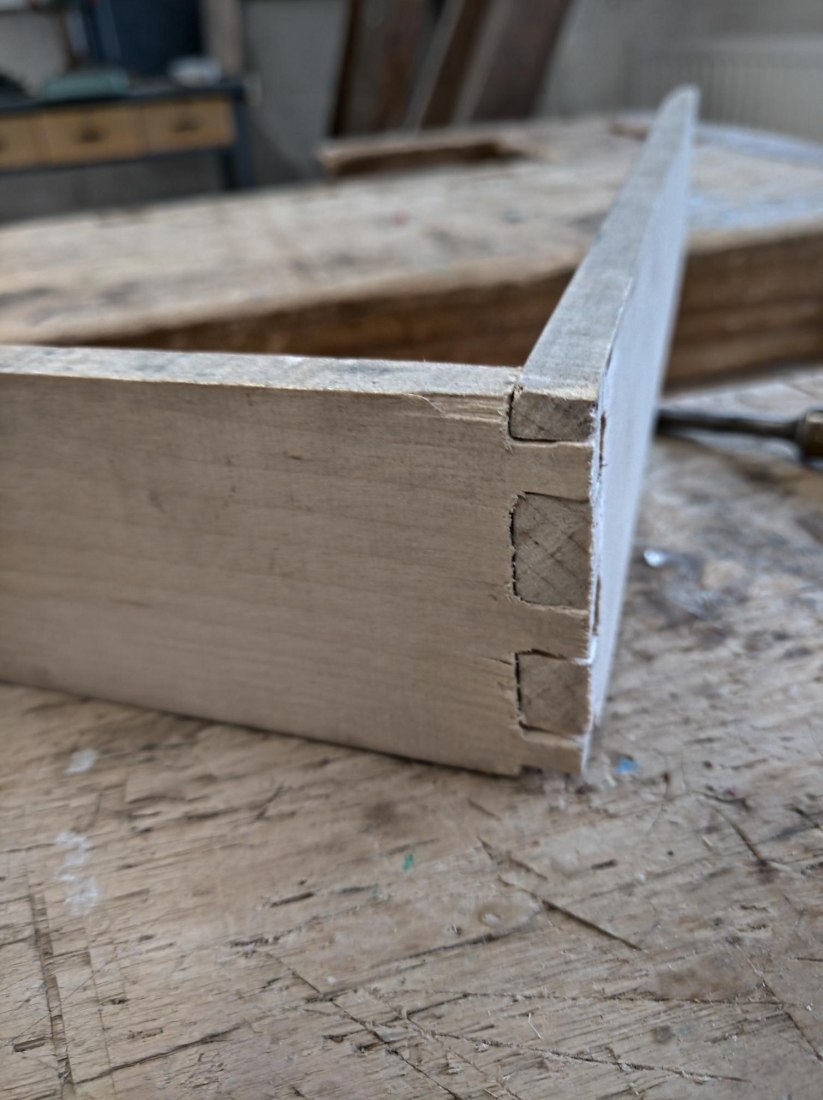
Final result from the right 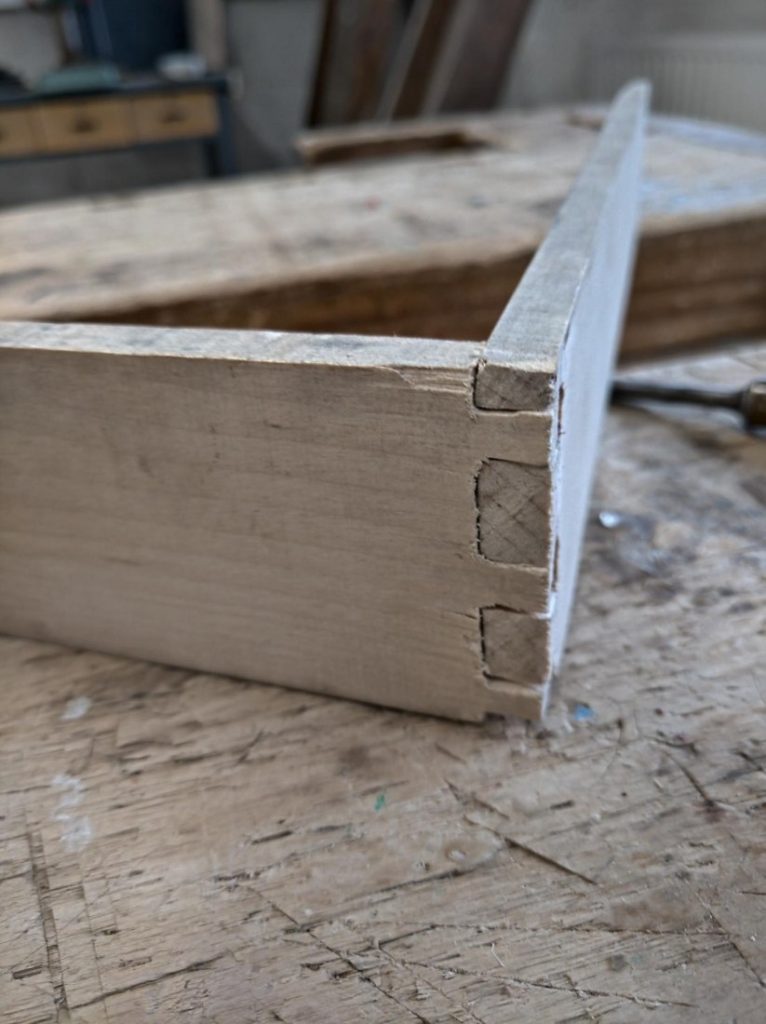
Final result from the left
Yes, it is not a beauty. I know! I know! And it will need quite a lot of wood glue plus sawdust to keep together. 😉 But I took two pieces of wood and given the tools and materials I have had at that moment, I am quite happy with it. Of course, it looks wonky. And yes, it looks funny. But I will keep this funny looking joinery as memory. This is just the first try!
Undoubably there will be many more wooden joineries of this – hopefully, better –
For all it’s worth, I will always look back to this and say: “This is where it all started… Instead of giving up, (complaining that there are not the right tools or material) I went through it and LEARNED a lot.
So what did I learn:
- Choose your material well: Choose harder wood. Also: It has to be thick enough. And not brittle.
- Make sure you have the right tools, but not let yourself stop you if you don’t have them. Take it as a challenge. But yeah: Bring your own tools if you have them!
- Don’t give up. Use any chance to learn something or practice something.
- When building wooden joinery, sneak up on the fit. Take some off bit by bit.
- Use a sacrificial wooden piece under the main piece you saw. To avoid tear out or break offs.
- Yes, it IS MUCH HARDER than it looks. But it is also very rewarding.