

In this post, I will briefly lay out my work shed and tools at this moment. The whole reason for starting this blog was to document how I plan and build a new woodworking space. On this, I will briefly touch in the end of this post. But first, some readers might want to understand the current situation and problems. Also, I want to list the tools I have at this moment. These are mostly the same tools I have used to complete some of the projects listed on the welcome page. You will see that these are fairly basic tools. But this should encourage you, that you can accomplish a lot with fairly simple tools.
Current shed
My current shed is a not heated storage space with the dimensions of 2,8 m times 1,5 m (Or 9.18 feet times 4.92 feet). It is used mostly for storing (garden) tools and equipment, tires, paint, luggage


As you can see, it is a very rudimentary shop. I can only complete fairly small projects. Partly this is because I don’t have any space to store or even operate other tools, like a let’s say miter or a table saw. Therefore I do most of woodworking projects outsides – If it is warm enough.
My tools
Besides the assortment of hammers, screwdrivers, hexagon wrenches, drill bits, sandpaper, glues, screws, nails, other fastening solutions, hinges, and small metals, I own various tools, which I use regularly.
Power tools
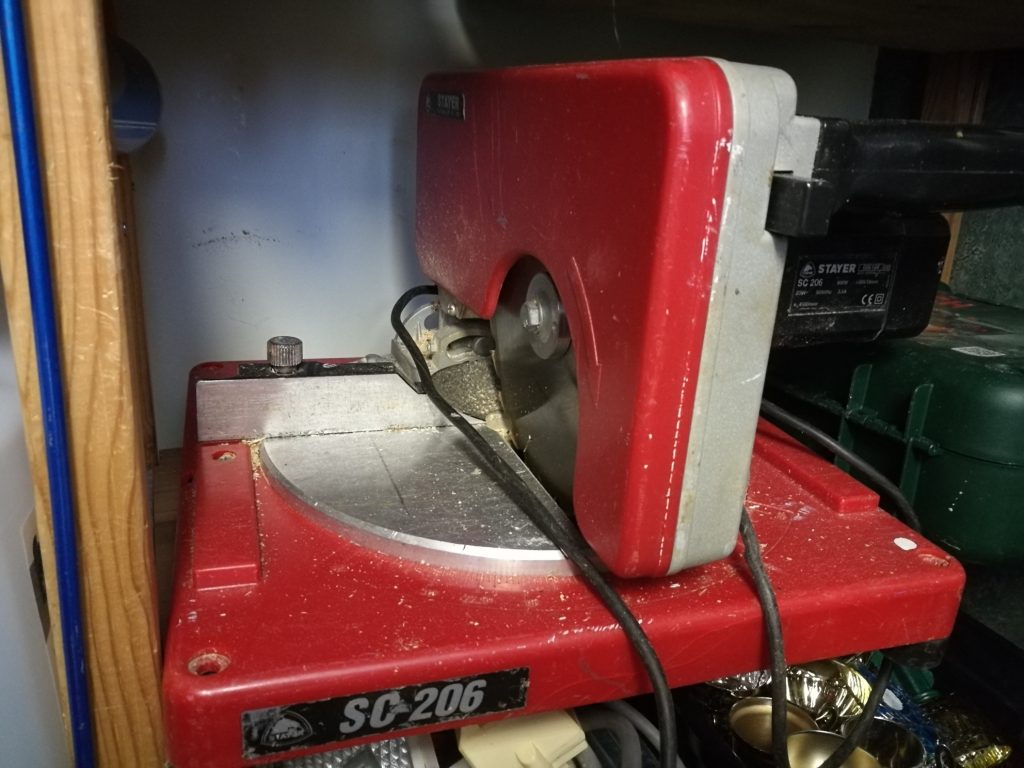
- A very old miter saw (*)
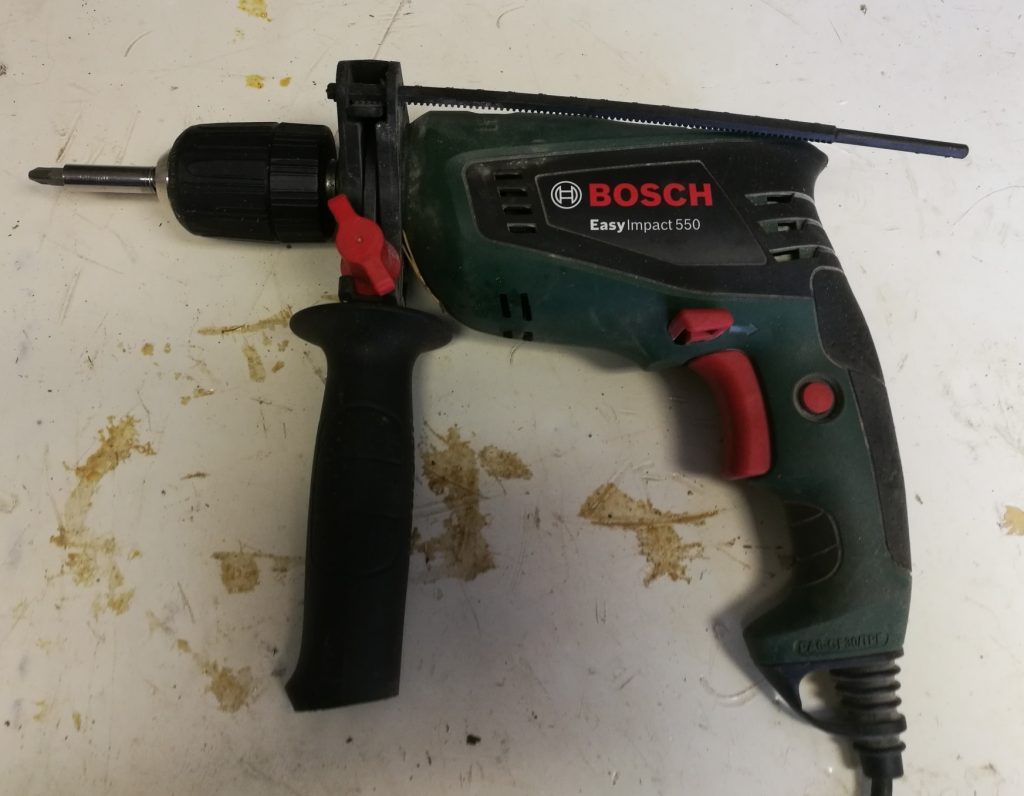
- A power drill with hammering function (one-year-old)
- The obligatory battery powered drill
- One circular saw
- Two different types of sanders
- Two jigsaws (*)
- A chainsaw

Hand held tools
- Various basic handsaws (*), hack saw with a blade for metal (*), shaping saw as well as a sideboard cutting jig and saw (*)
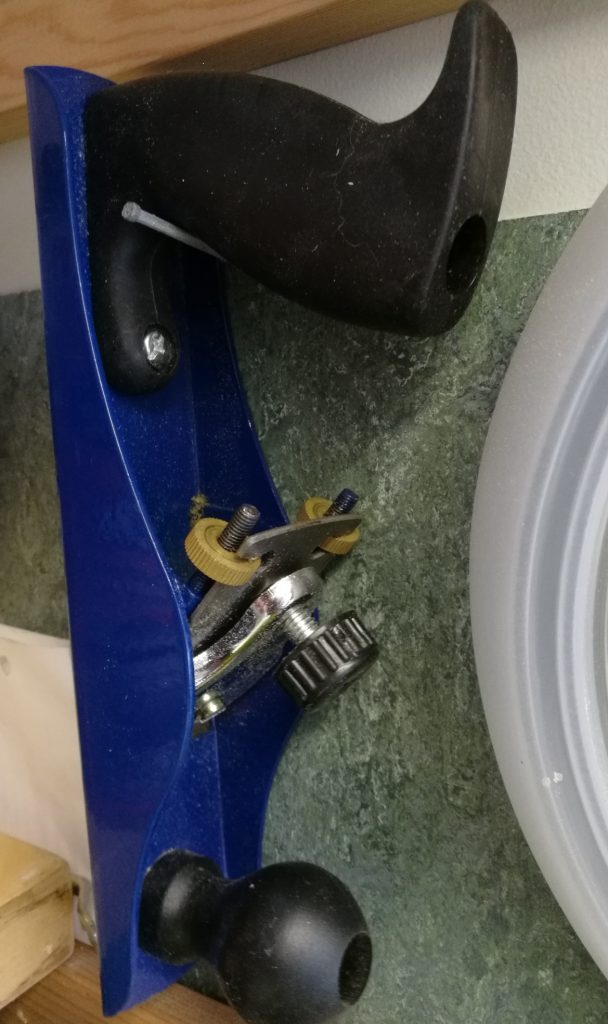
- A hand plane
- 2 crowbars (*)
- Measuring and set tools like a speed square, measuring tapes (*), caliper, converter compass, metal rulers, square, three water levels in different sizes (*)
Help and you shall be rewarded
A tip in between: I have variations of the same tools. Somewhere around six different kinds of hammers and fours sets of screwdrivers, tons of sandpaper, nails, screws, etc.
A lot of those, as well as tools marked above with “(*)” and other items I came into possession by HELPING people. For example, I help when friends or relatives are moving. (Three times out of the country, four times moving together, one time emptying someone’s elder relative house and cottage after his passing.) Also, I am helping with house repairs, renovation, or build projects.
I don’t take any payment (besides maybe gas money), but from time to time things will be thrown away in such situations. And I get asked quite often if I have any use for those. This is an easy way for the owners to get rid of excess things. And I get another tool, nails, wood or some things I can use in my own project!
It also fills my shop with memories of those friends and projects!
So help people, friends, and relatives. From time to time you might get something nice out of it!
Why a new shop
As I mentioned above: The tool shed is too small. I can’t add new tools or build jigs (which I need for certain projects) because they need space, and I can’t operate them properly in this size of the room. Working with wood also means wood dust AND painting or staining! This means I have to nearly always work outside. (Which isn’t optimum and time-consuming as well.) Not to mention that I am limited to the weather: I live in Finland. Here 6 months of the year it is very cold, it snows or rains.
The coldness (sometimes up to – 30 degrees Celsius) has not only an effect on my build projects. I have to store certain devices, tools, battery, glues and other stuff inside the house while that period, which again makes projects very time-consuming.
My plan to move forward
I have multiple options to increase my wood working space.
My first options and thoughts
1.) Build a shed next to the existing one 2.) Extend the existing shed 3.) Rent a shed or working space. 4.) Use a public available “working spaces” provided by the state or hobbyist groups.
As I live on a shared plot 1.) and 2.) require the OK from all neighbors. Not to mention building permission from the city. Building my fence took them eight months to check. At the same time, I would take building square meters away from this shared plot!
Therefore I might
a.) have a very hard time to convince the other neighbors to give away valuable building space (And it might cost me more rent)
or b.) have to agree that the new shed that I build (AND my tools) are available for seven parties that own this plot.
3.) and 4.) are feasible, but money and/or time-consuming. Not to mention driving to the location, taking maybe my tools and even the workpieces (from the public workspace) with me, etc.
Let’s go with option 5.)

This one is currently for sale in nearby Vantaa.
The solution dawned on me when I watched Laura Kamps “Tiny house build series“! I’ll buy and convert a large trailer or a small container and place it next to the shed. This means I will not have to pay rent, I don’t have to ask for a building permit and it’s nearby. So this is what the blog is mostly going to be – Once the snow has cleared.
Converting a trailer or container and learning more about tools and techniques.
Solid shed.